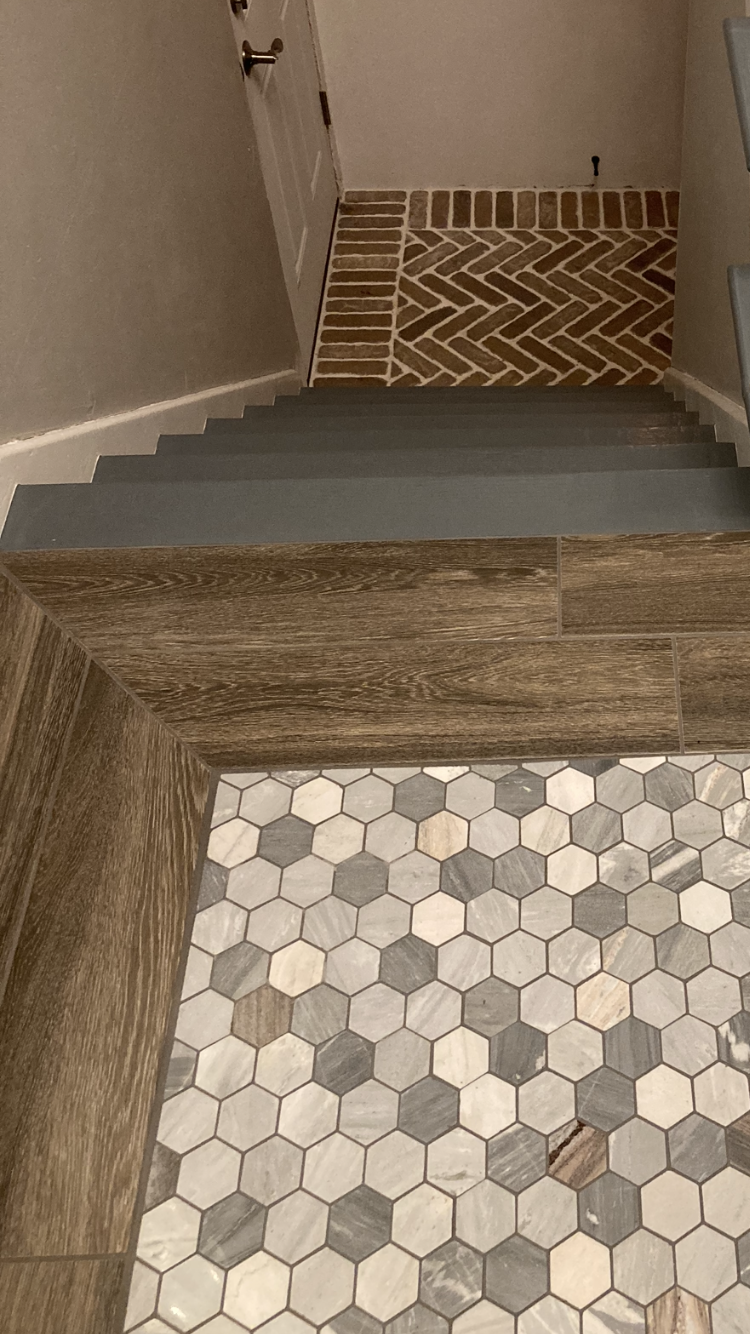
brick herringbone entryway
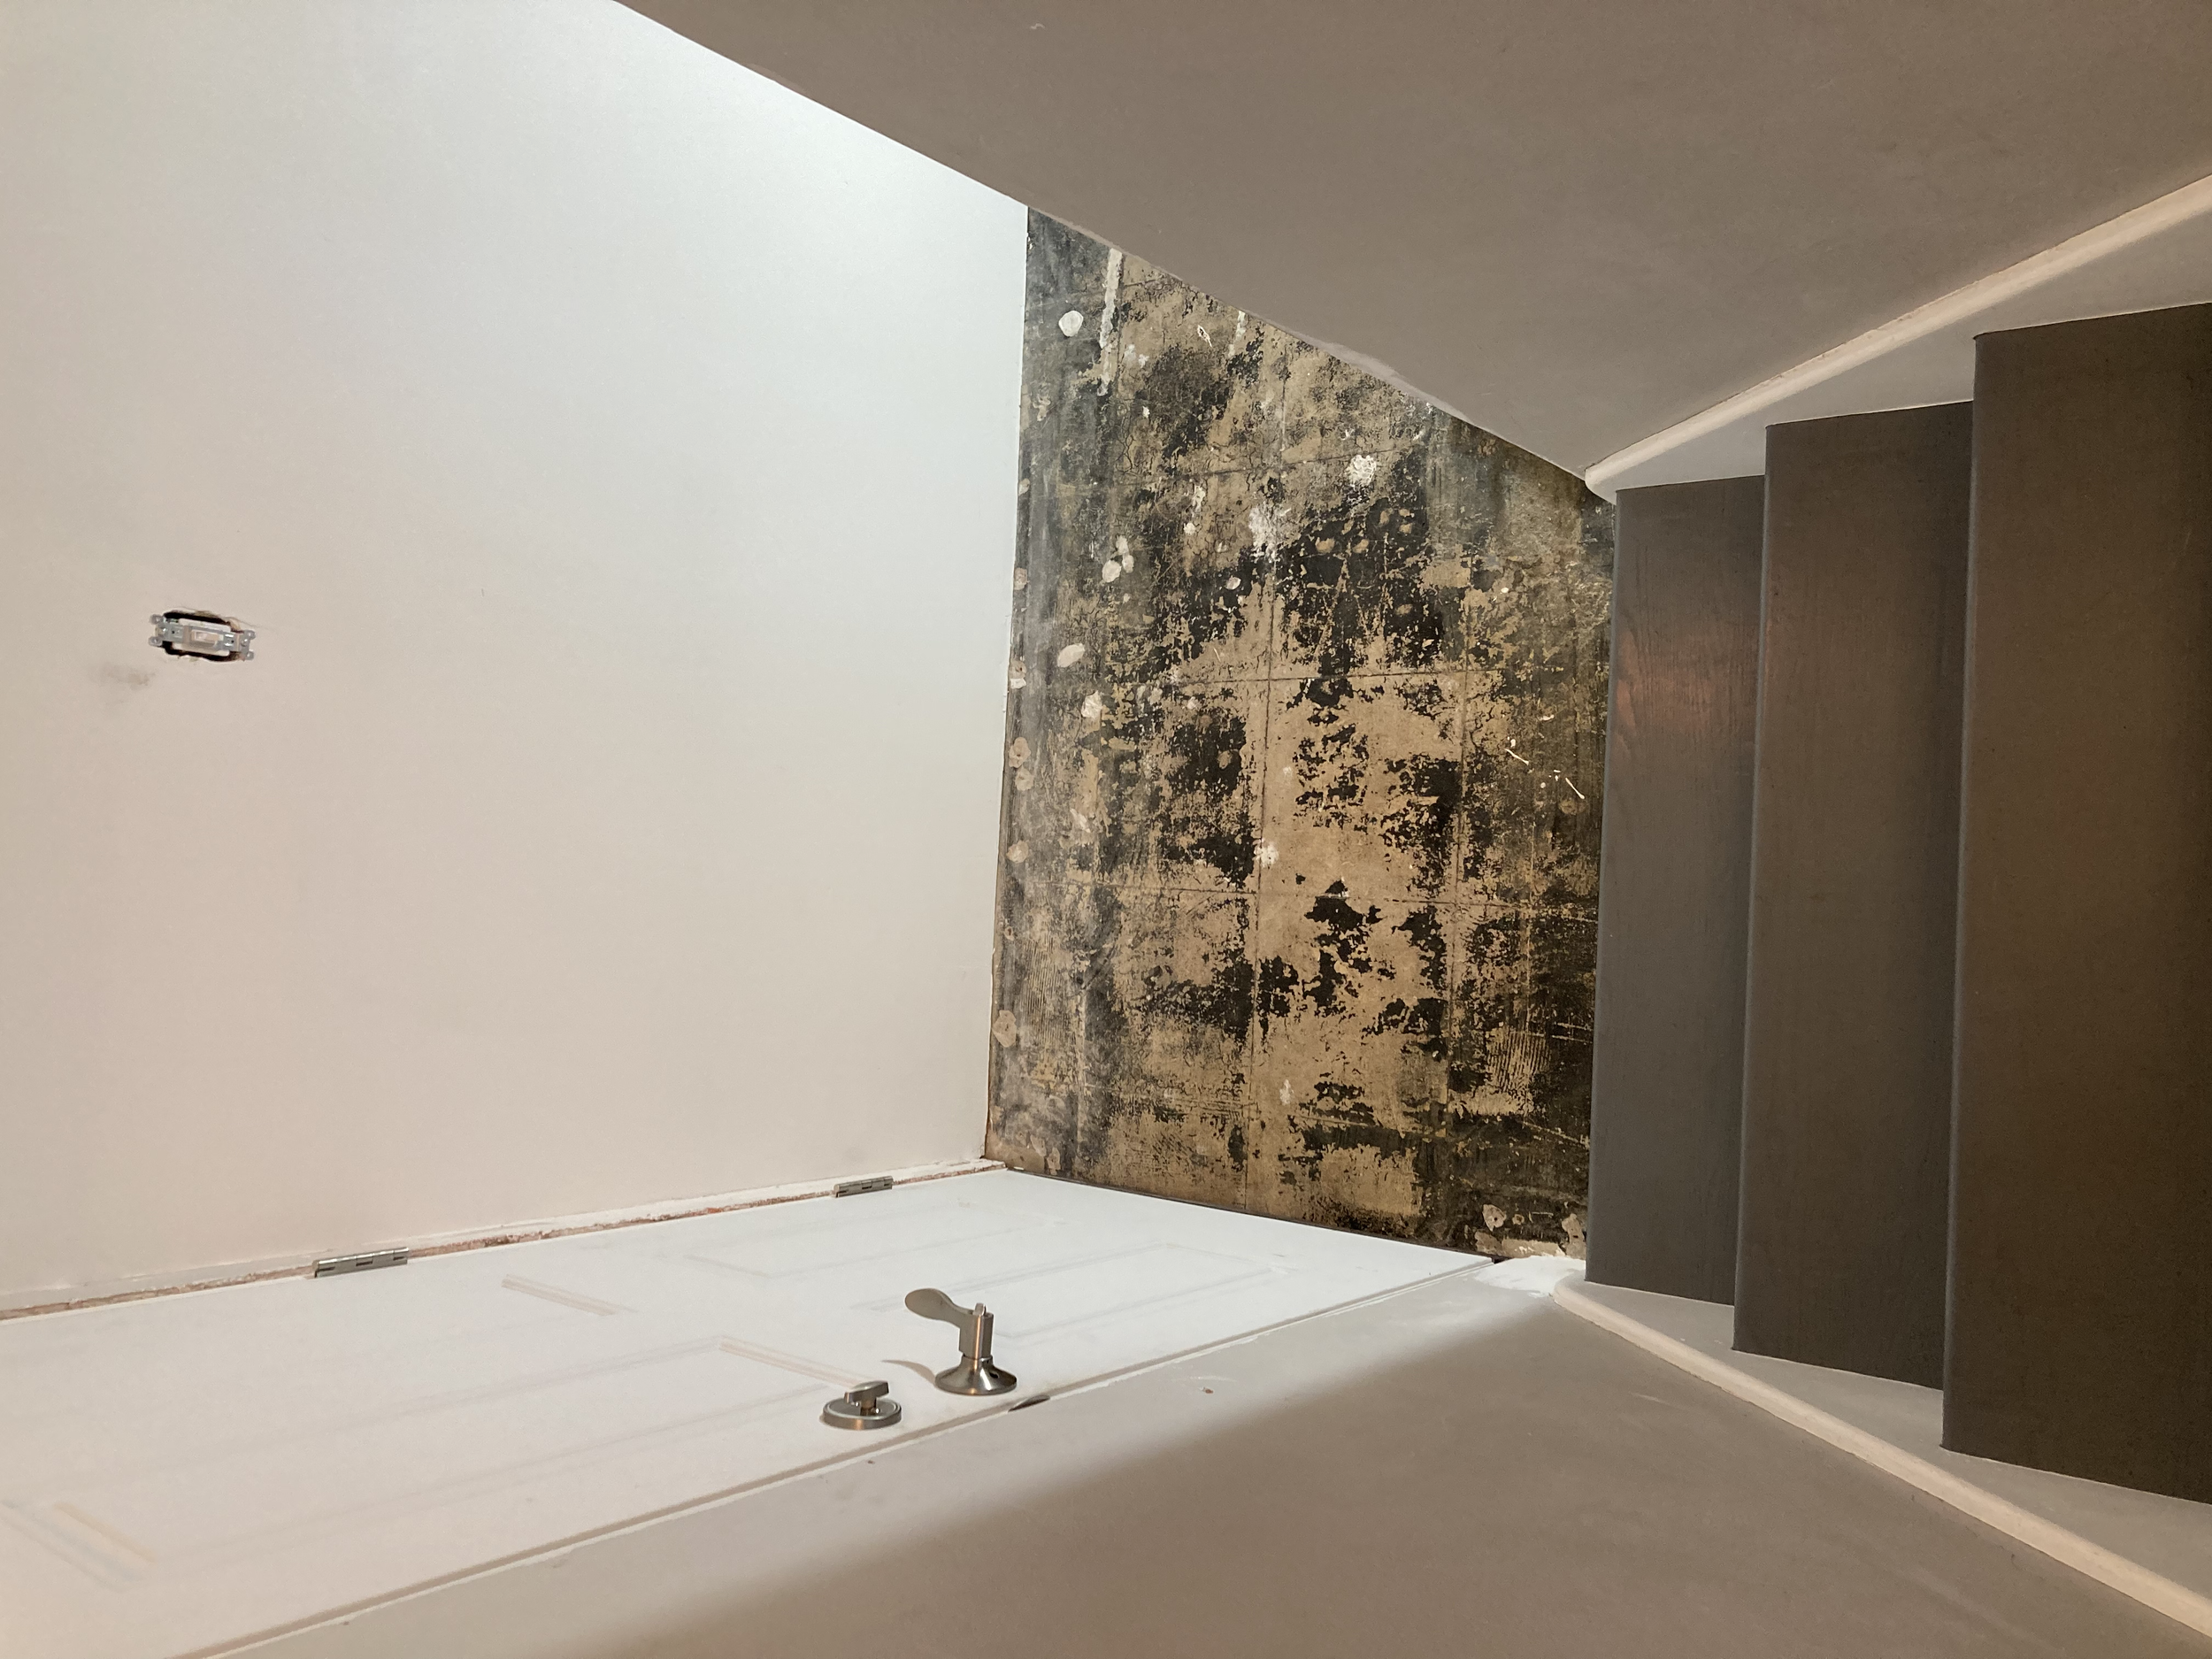
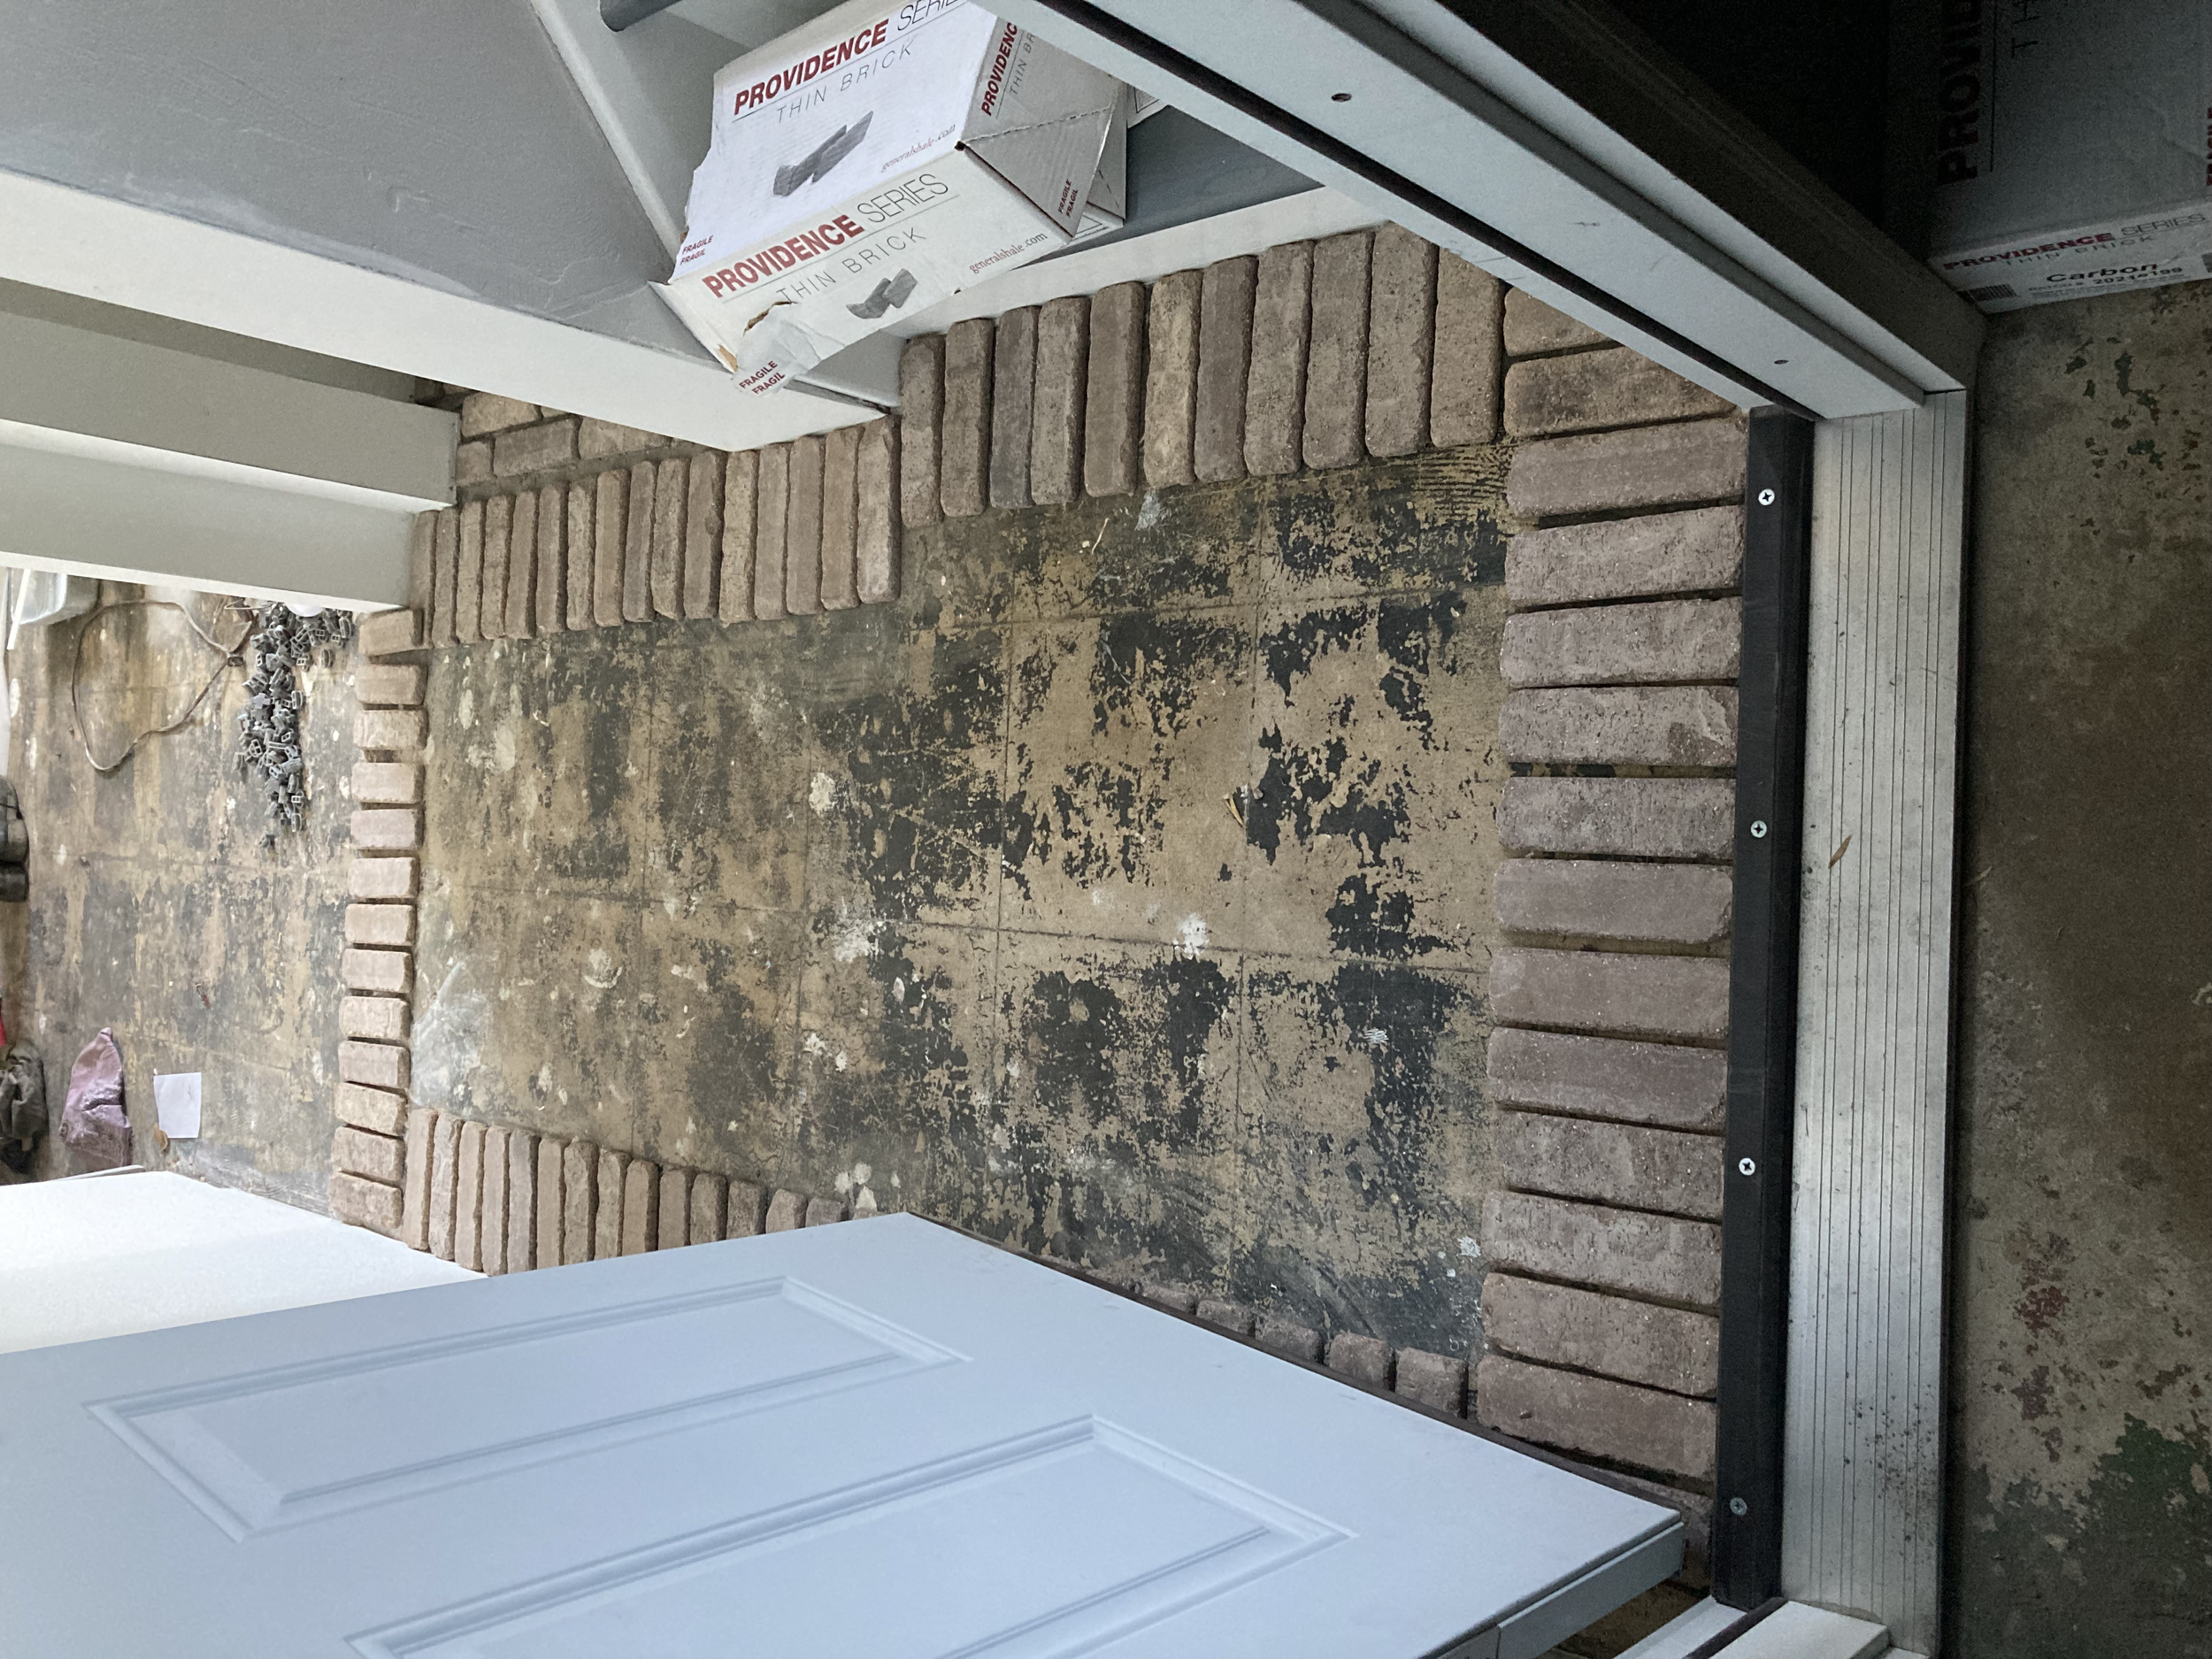
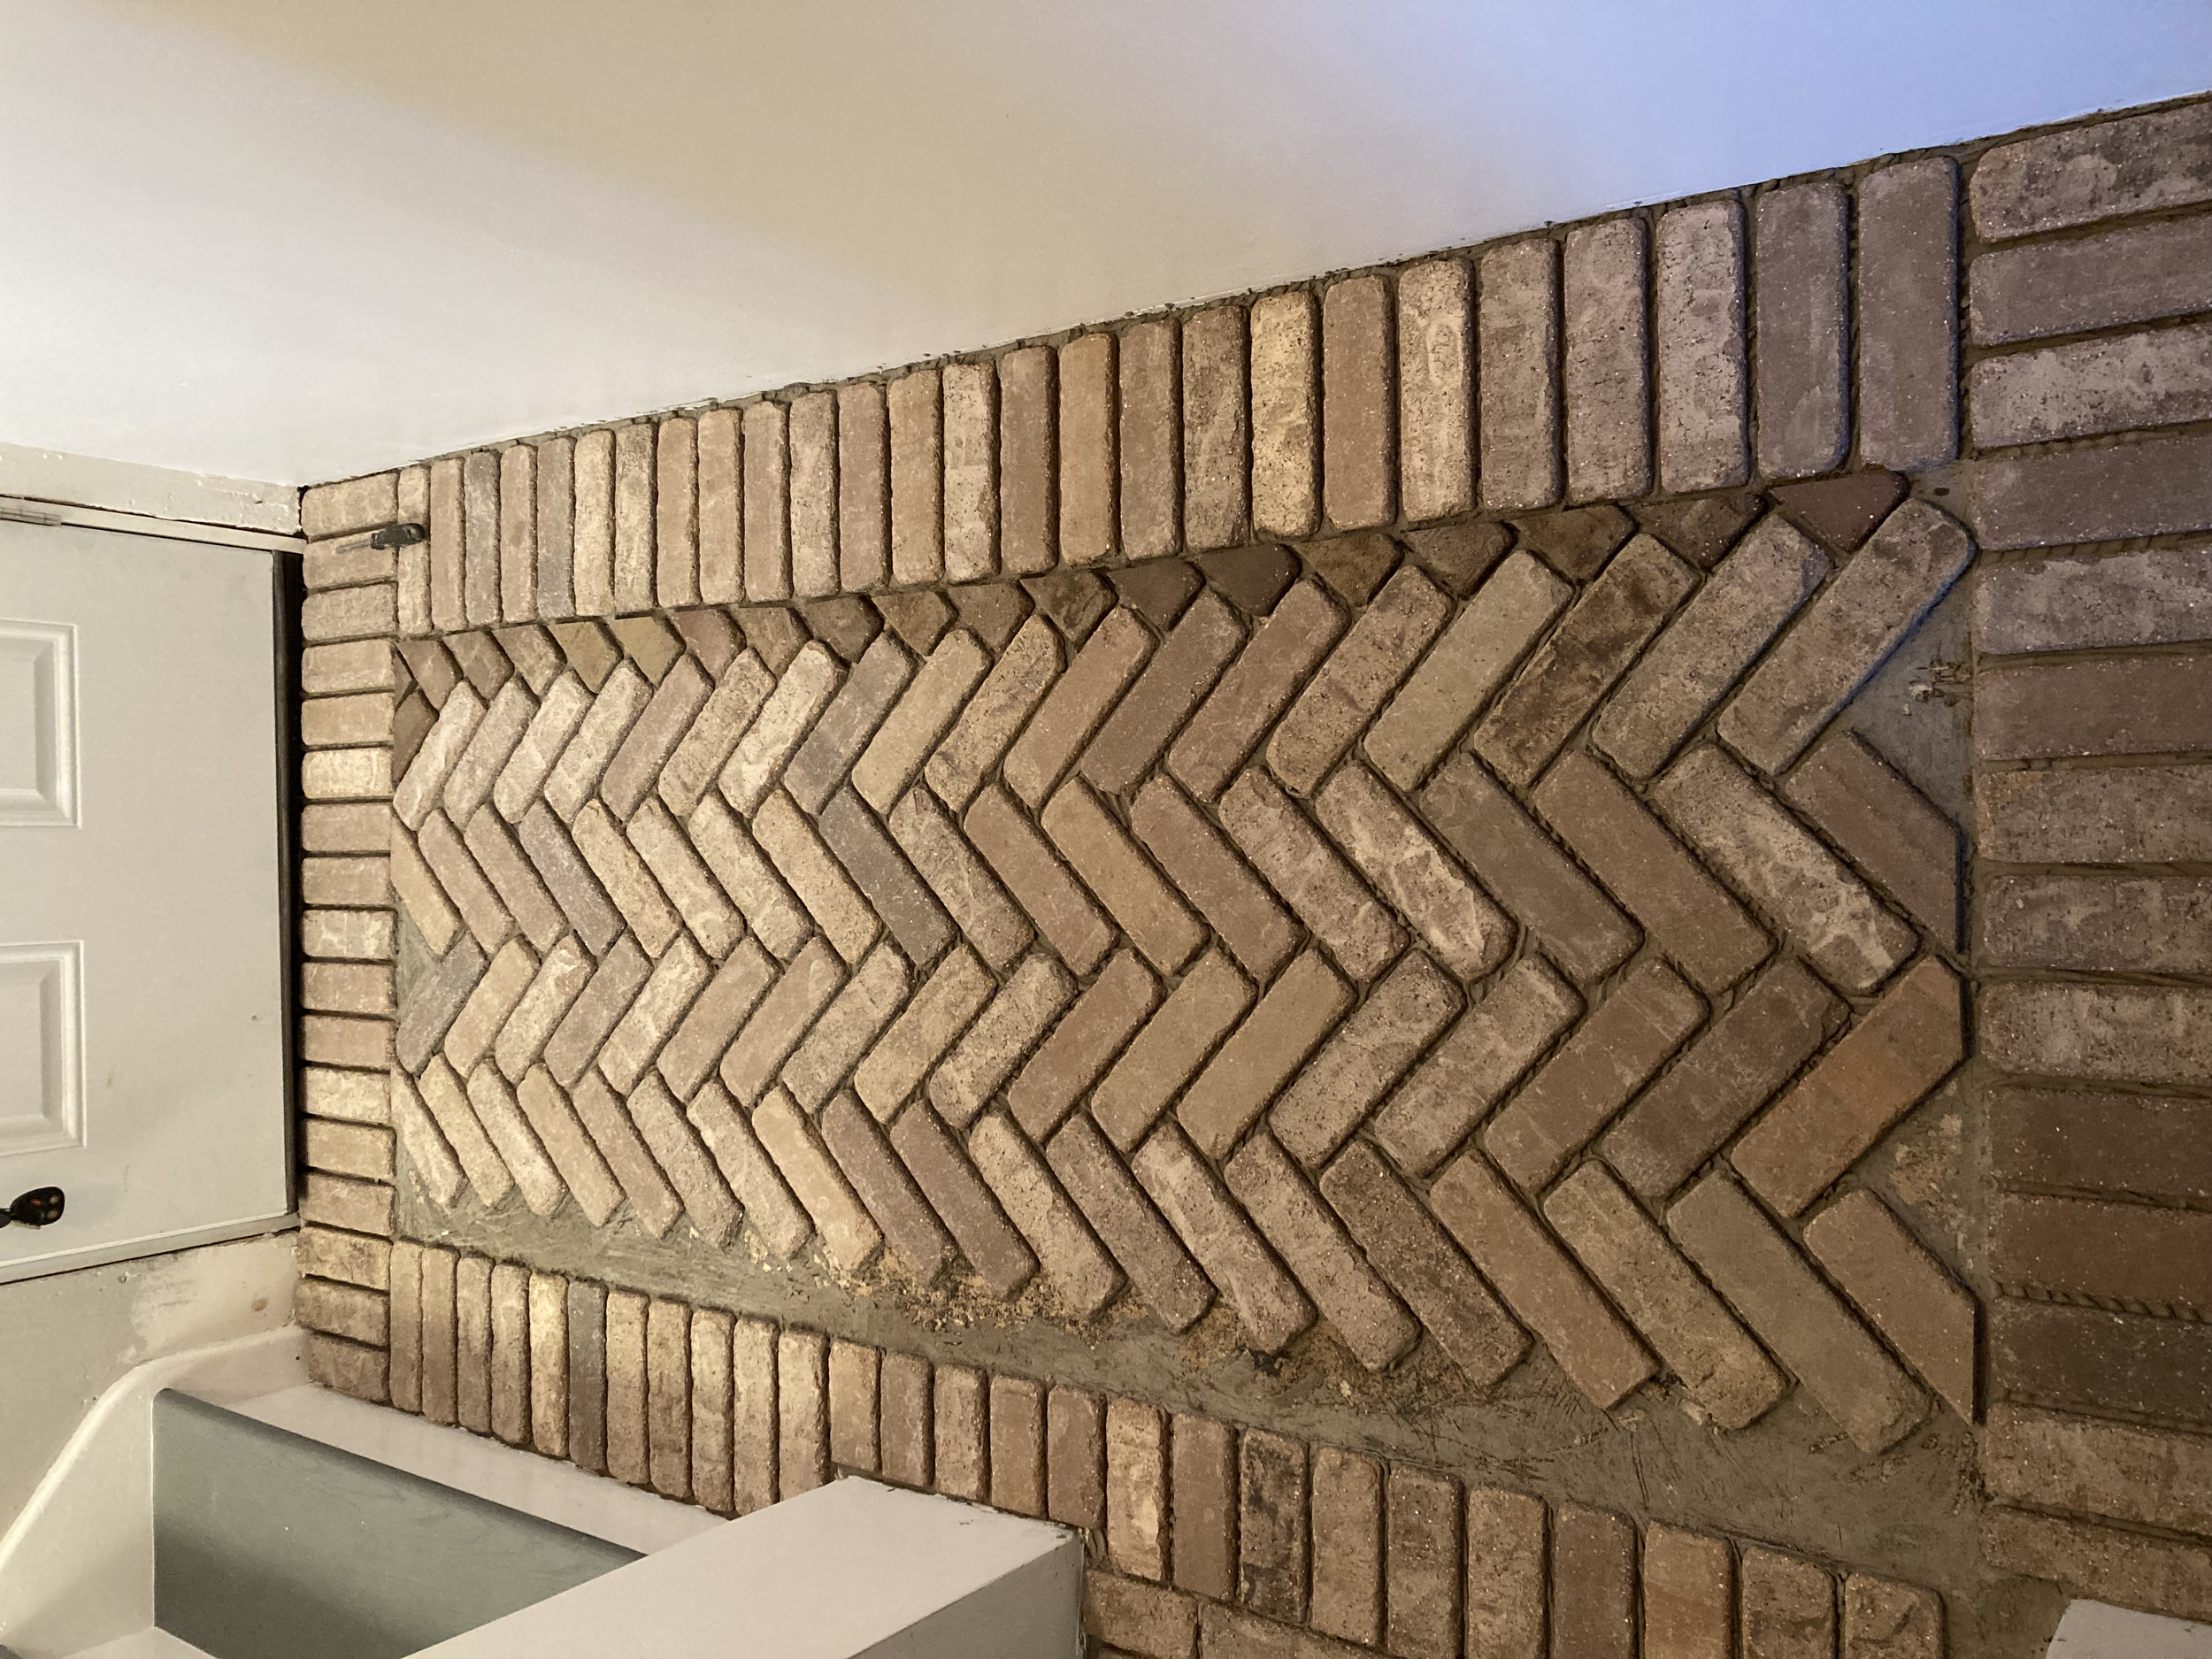
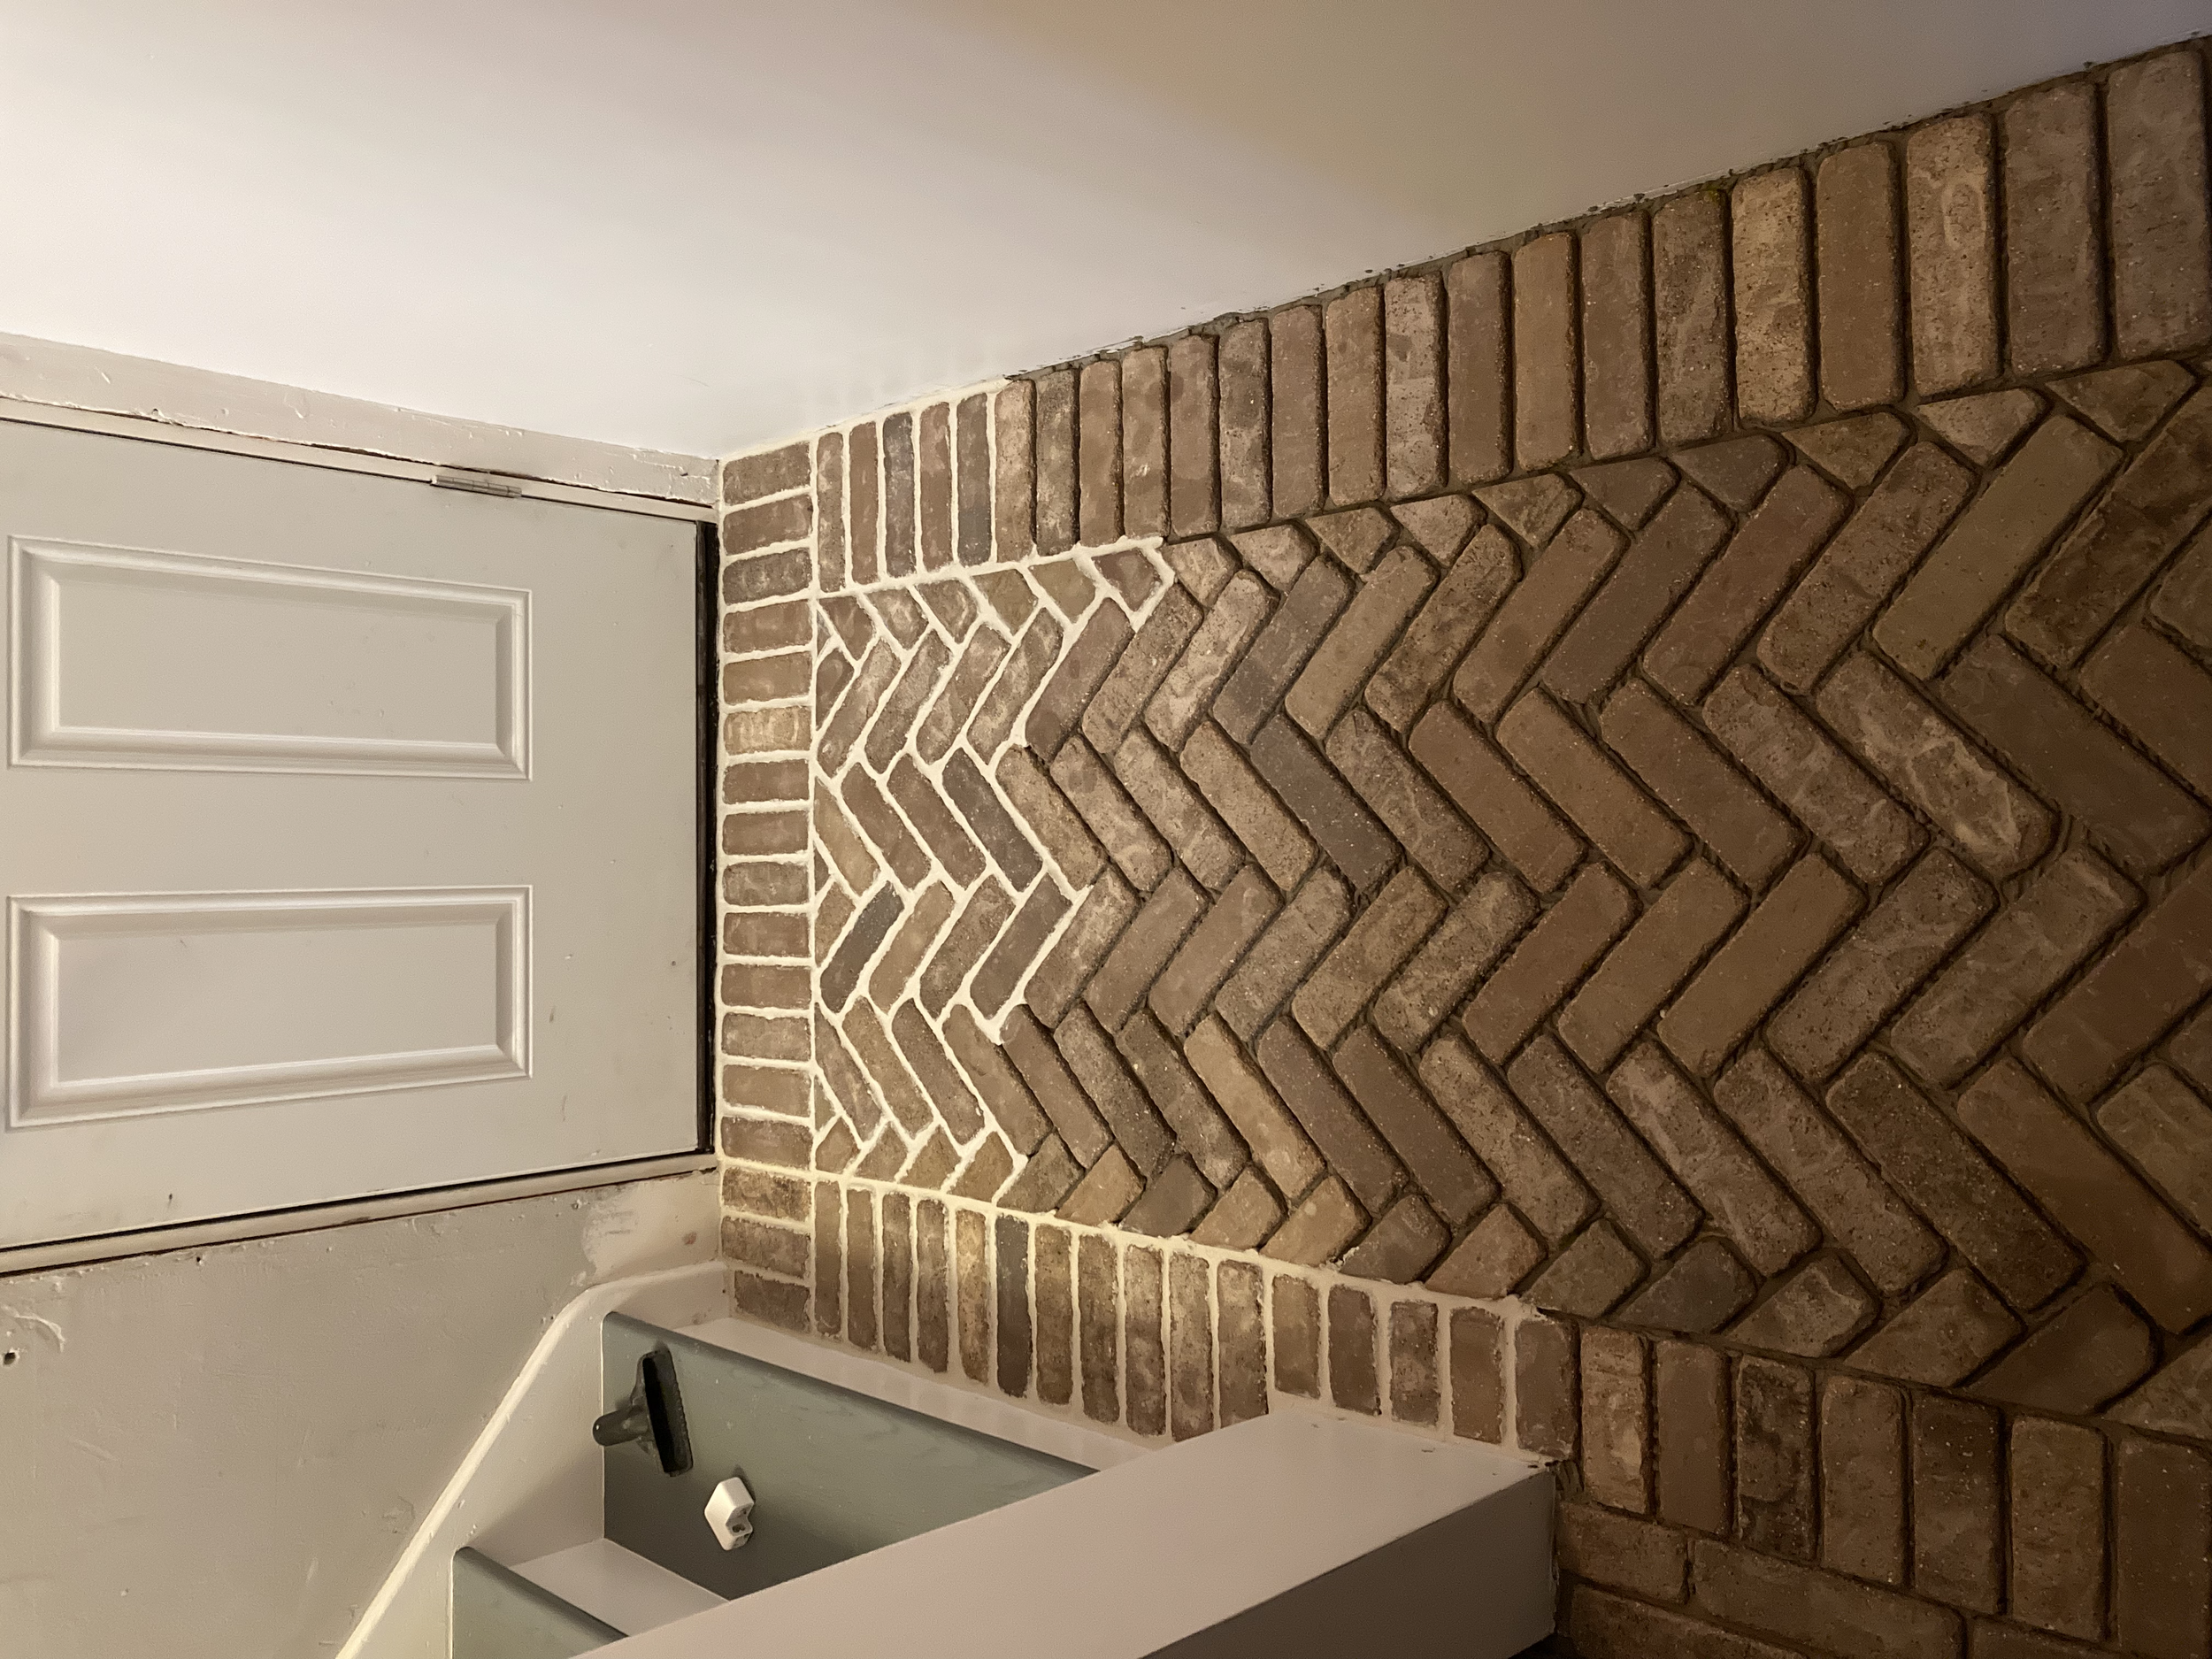
Herringbone Style has always been one of those touches added to a home that I felt gives it a high end look. The intricacy of this design shows the difficulty and effort into giving a home that extra and unique touch specific to your liking. This is the entry way into my home from my garage door. Professionals would have easily been able to precut these tiles and lay them accordingly. Being that this was an extremely difficult design for a beginner like myself, I cut the tiles as I laid them because the Brick was too expensive to allow for many mistakes to be made. Doing it this way dragged this out longer than I had hoped but it ensured that each tile would fit perfectly for the spot it was needed for. I started out by laying the tile to get a better idea of what and how exactly I wanted the design to be. I started by using mortar and laying down the border and then began the Herringbone Design inside the brick border using 3/8th inch tile spacers. I used white mortar instead of grout to fill in the spaces of this design but I did use a Grout Piping Bag to do so. I then sealed the brick to allow for easier clean up when it is all said and done. As with most of my projects, it is beyond satisfying to see and have this floor in my home. I have always felt the entryway to a home should give a “WOW!” factor and I believe I have achieved that with both of my DIY Entryway projects.
Products Used:
Brick from Lowe’s: Providence Series Thin Brick (Color Carbon)
Tile Spacers 3/8th-inch 100pack Tile Spacers

